Beanbags are a childhood staple. As a teacher, I often used bean bags in my elementary classroom for lots of different learning activities. The possibilities are truly endless! Homemade Bean Bags are a perfect easy beginner sewing project and can help use up fabric scraps. The materials are practically free, and even if you have to buy a bag of beans for the filler, each beanbag only costs pennies to make. Make a set for the kids in your life and enjoy hours of fun!
DIY Beanbag Tutorial
Sewing level: Beginner
Time: 5 minutes
Cost: $0-$5
*Affiliate Links are present in this post.*
Materials:
Square scrap fabric
Sewing machine
Thread
Beans (any will do!)
Hand Sewing Needle (optional)
How to Sew a Beanbag
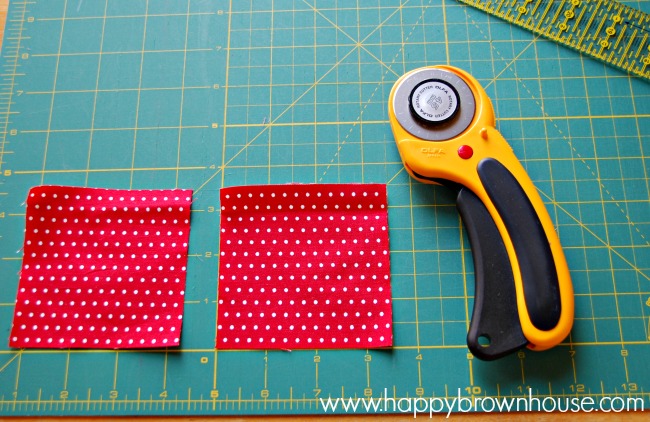
- Cut your fabric to a 4×4 square. You will need 2 squares per bean bag. (Mine were 3.5 inches square in the photo. They were fine, but a little smaller than I wanted.)
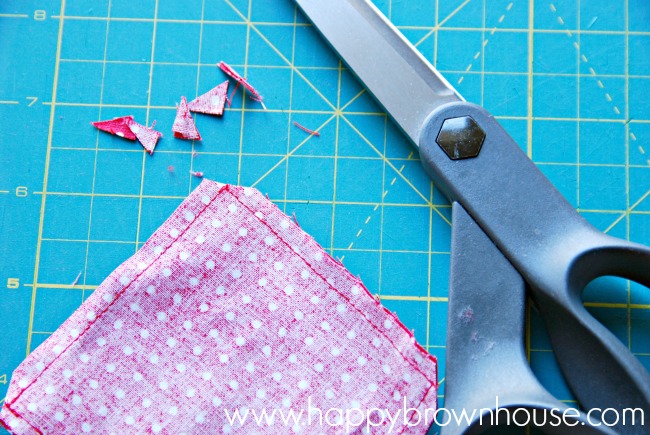
- With right sides together, sew around the square. Make sure to start halfway down one side and stop sewing early, leaving a 2 inch space.

- Clip corners, making sure not to clip the thread.
- Turn the bean bag right side out through the hole. Use a pencil to push the corners out.

- Place beans inside the bean bag. I used regular dry pinto beans that I’ve had in my cabinet forever, but whatever kind of beans you have at your house will work.
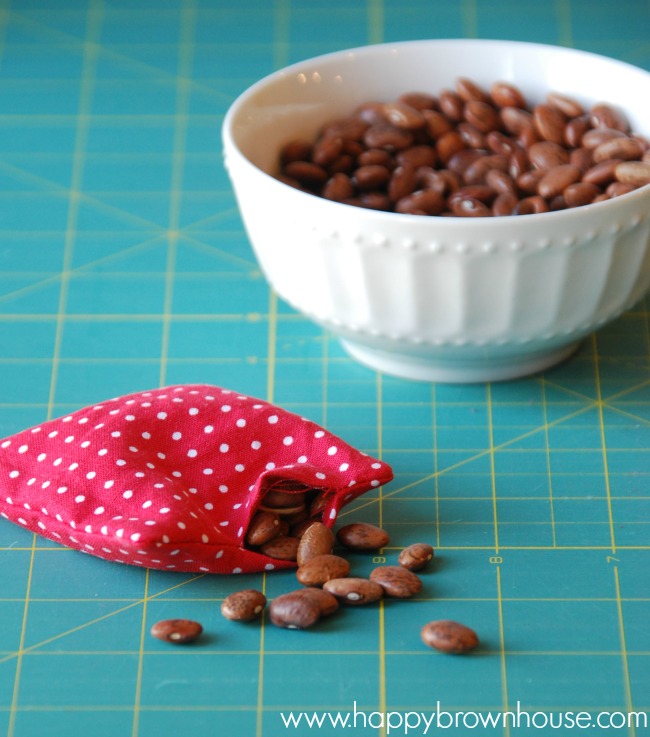
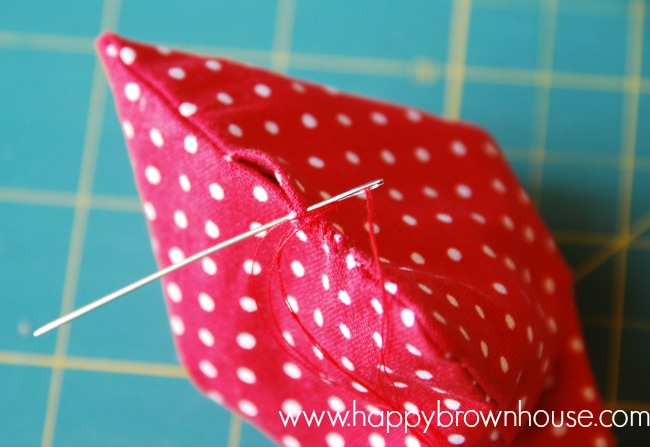
- Sew the small opening shut. I used a needle and did a quick whipstitch by hand, but you can also use a sewing machine.
That’s it! So easy. Now, you’re ready to hand these to the kids and make up a game!
Don’t forget! Today is the LAST day to purchase the Ultimate DIY Bundle!


Speak Your Mind