Note from Sara: My friend Jenny from The Southern Institute is here today to share a tutorial with you while I snuggle up with my newest little guy. Let’s give her a warm welcome to the Happy Brown House!

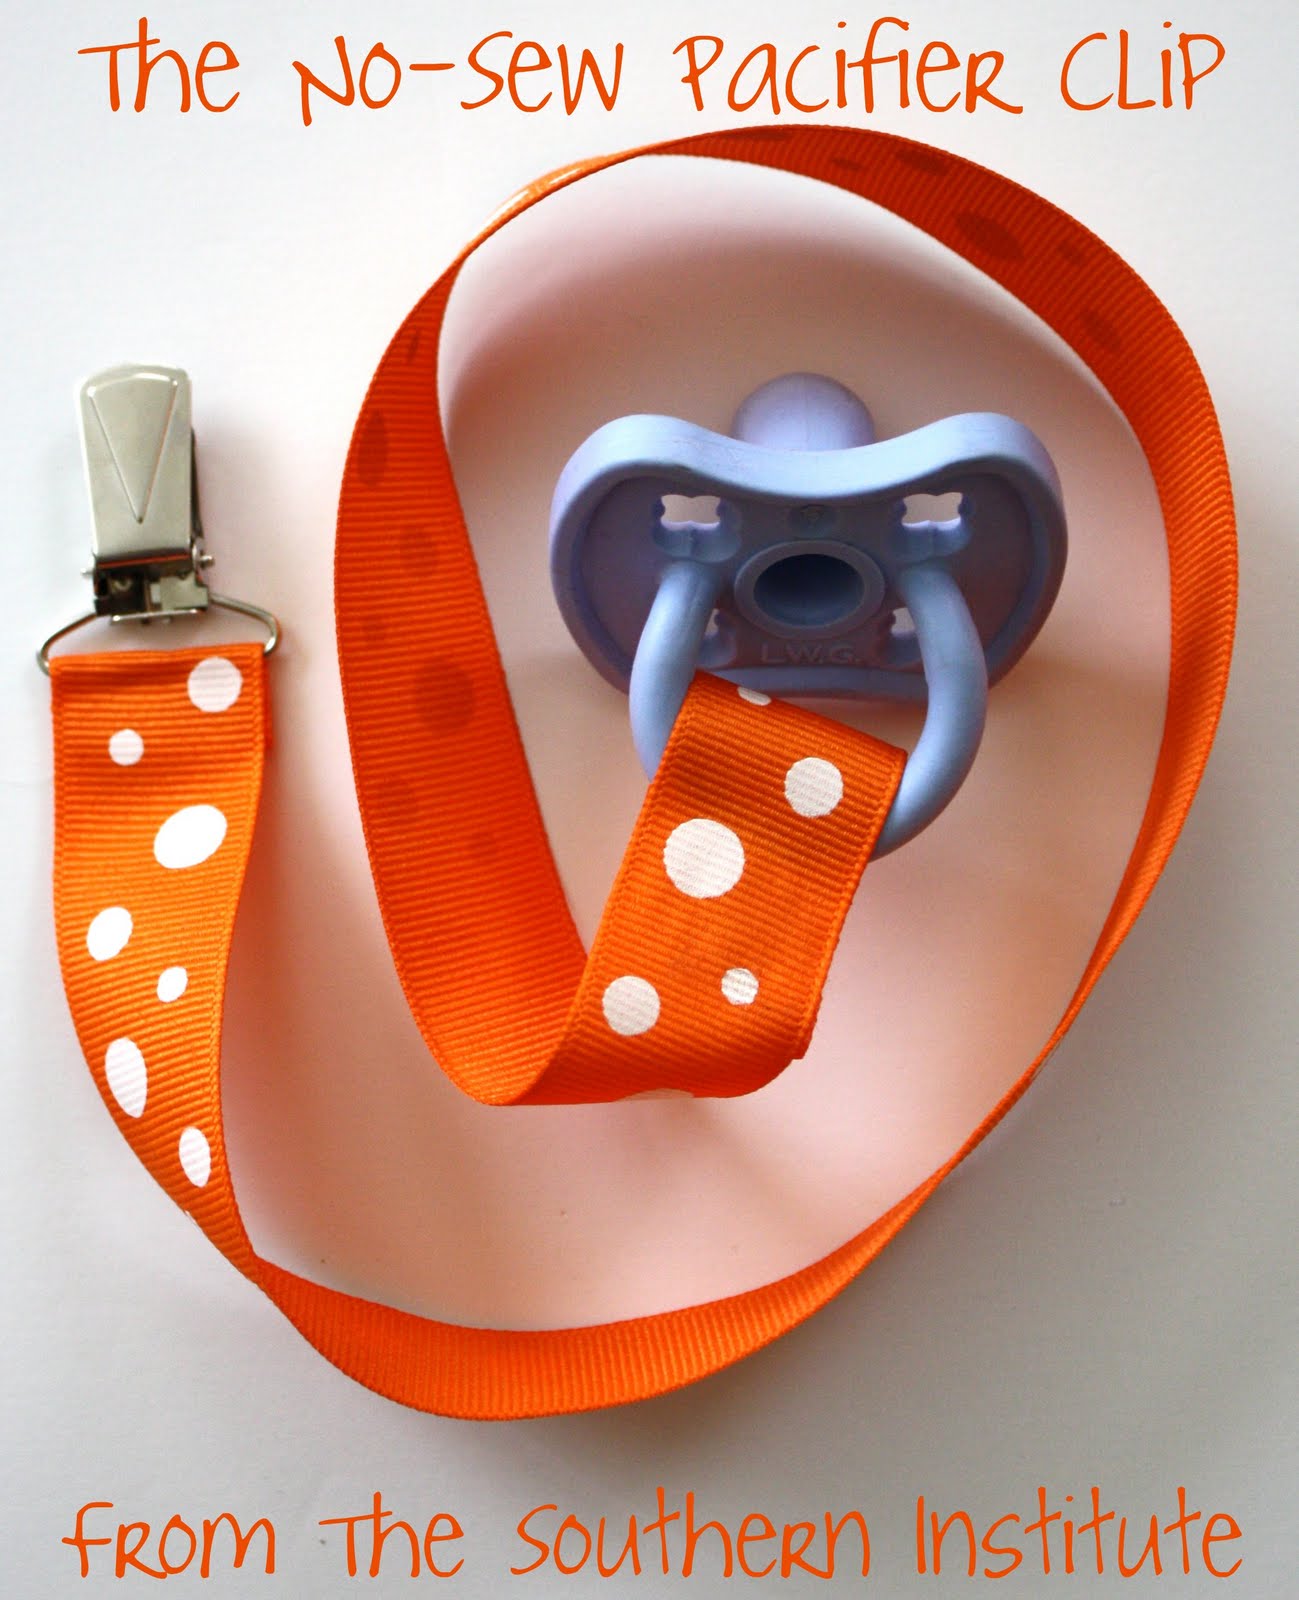
Hello, everyone! It’s so good to be here today as a guest… my first time at Happy Brown House! Sara asked if I would share a project with you and I thought this was the perfect thing. This pacifier clip requires no sewing and it takes about 15 minutes! It’s perfect for baby showers.
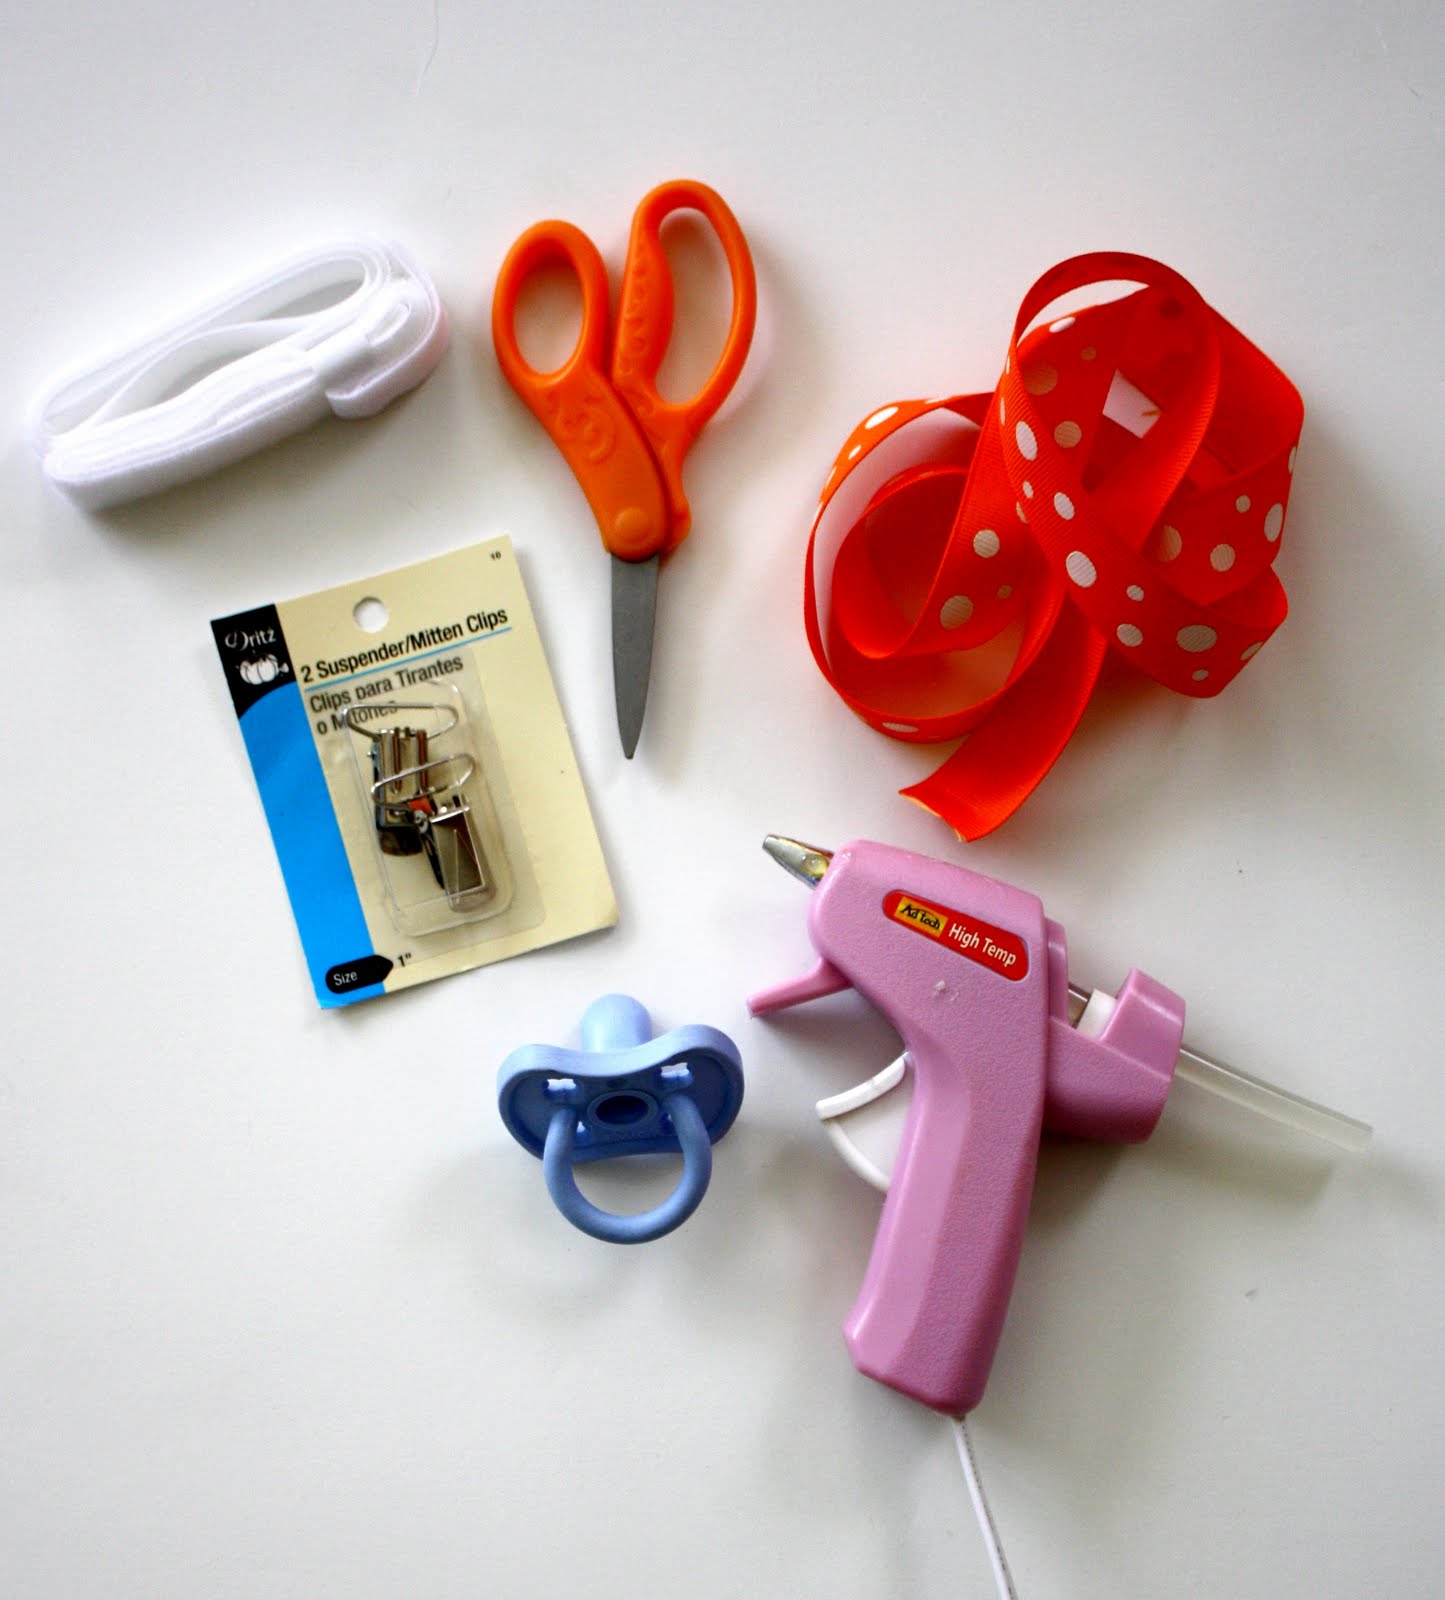
What you’ll need:
- 1/2 inch velcro
- scissors
- hot glue gun
- grosgrain ribbon (about 12 inches)
- one mitten clip (they come in packs of two)
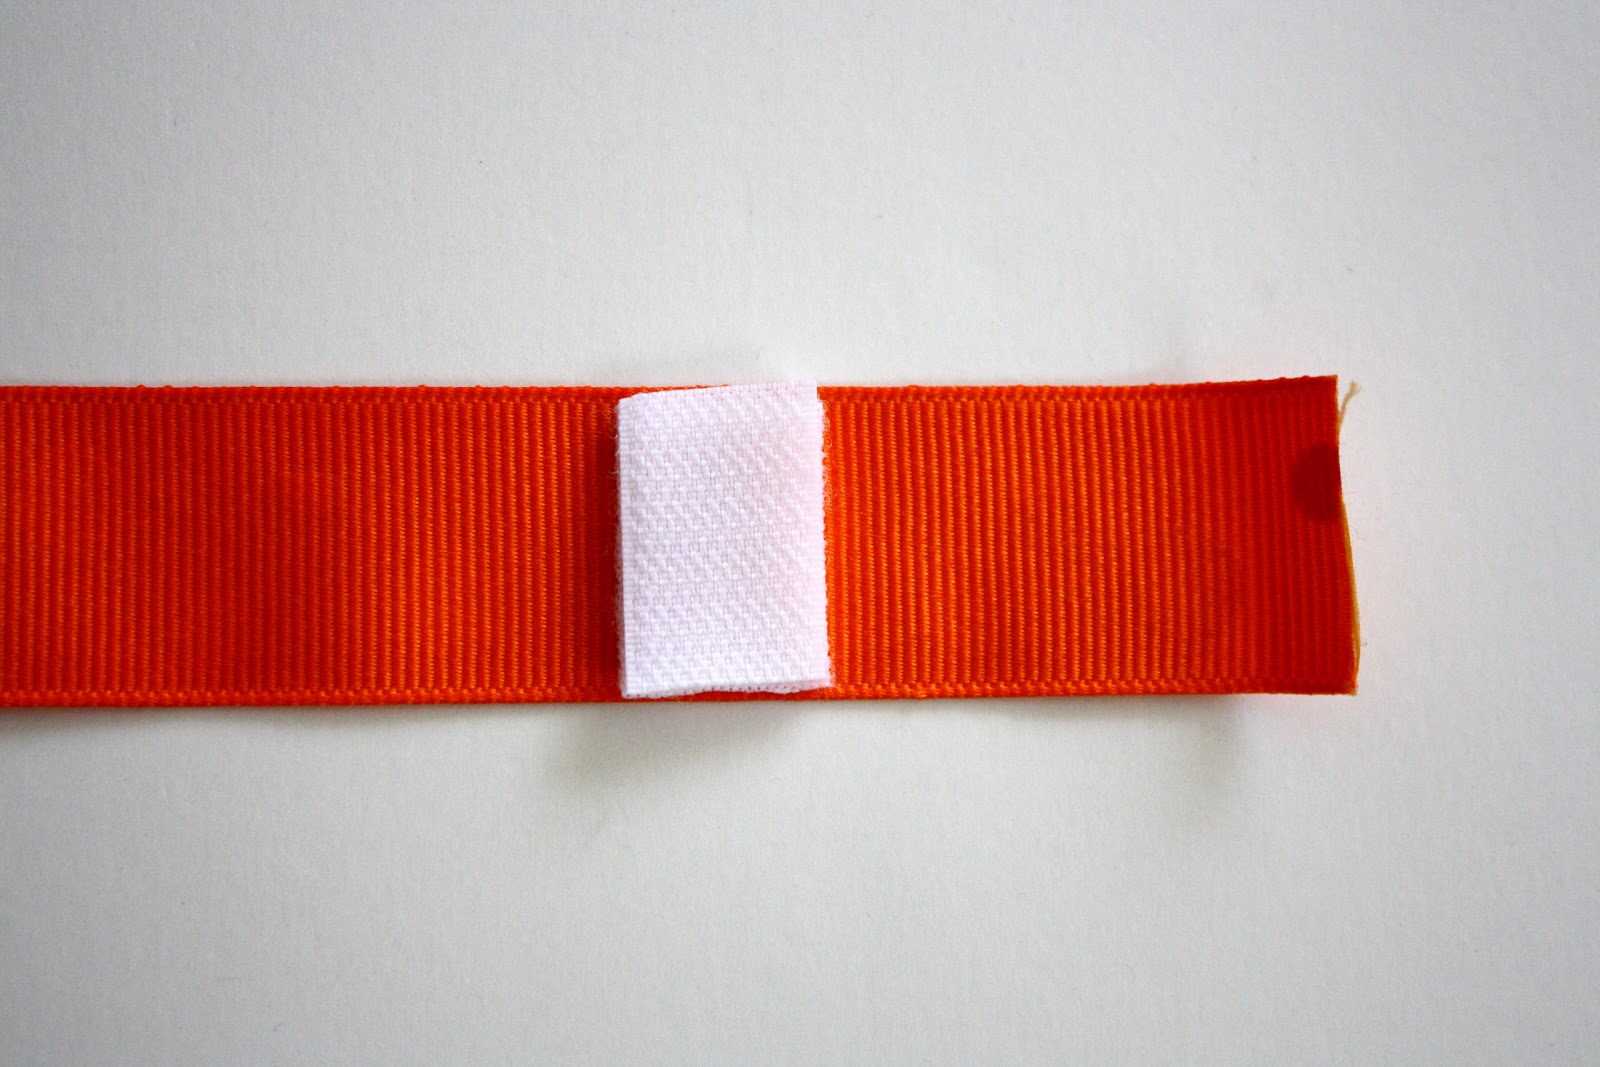
Step One: Cut a piece of velcro to match the width of your ribbon.
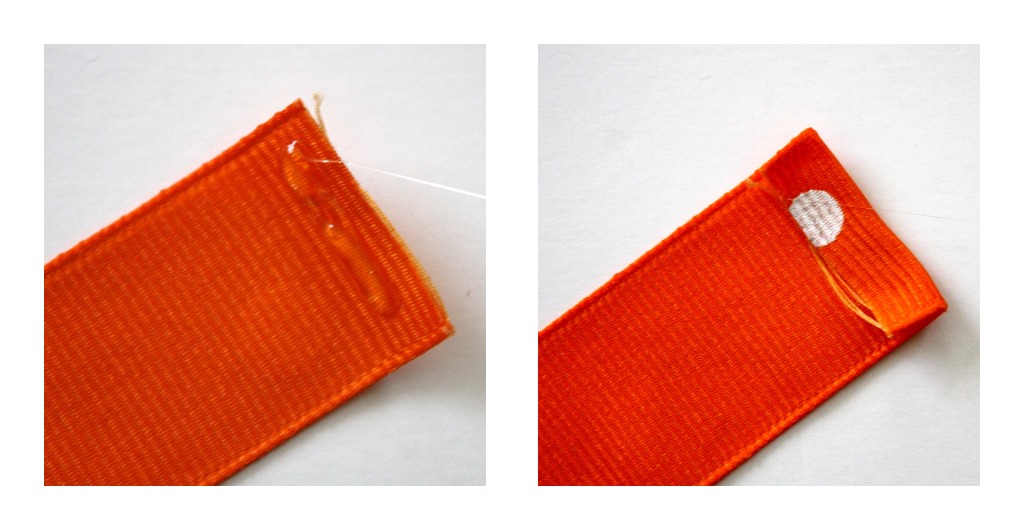
Step Two: Apply hot glue to the edge of one end of the ribbon and fold over about 1/2 inch. Press firmly to adhere. This creates a “hem” of sorts.
Step Three: Take the velcro (both sides stuck together) and glue one side to the edge of the “hem”. Place hot glue on the second side and fold the ribbon over about 1 1/2 inches. Press firmly.
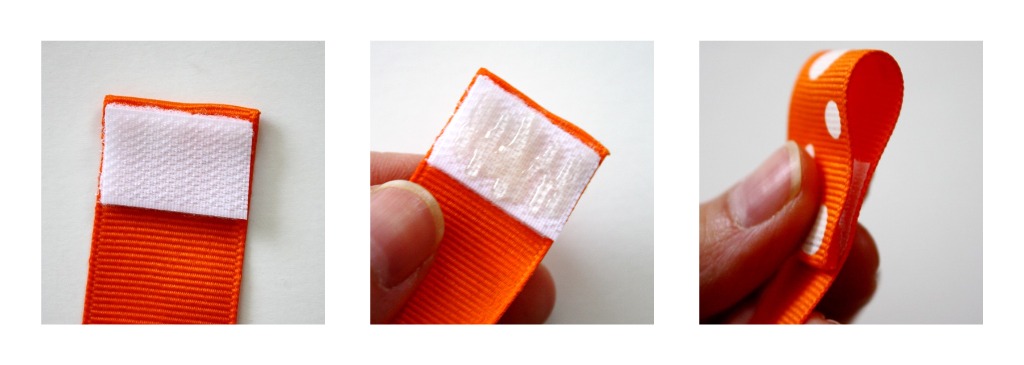
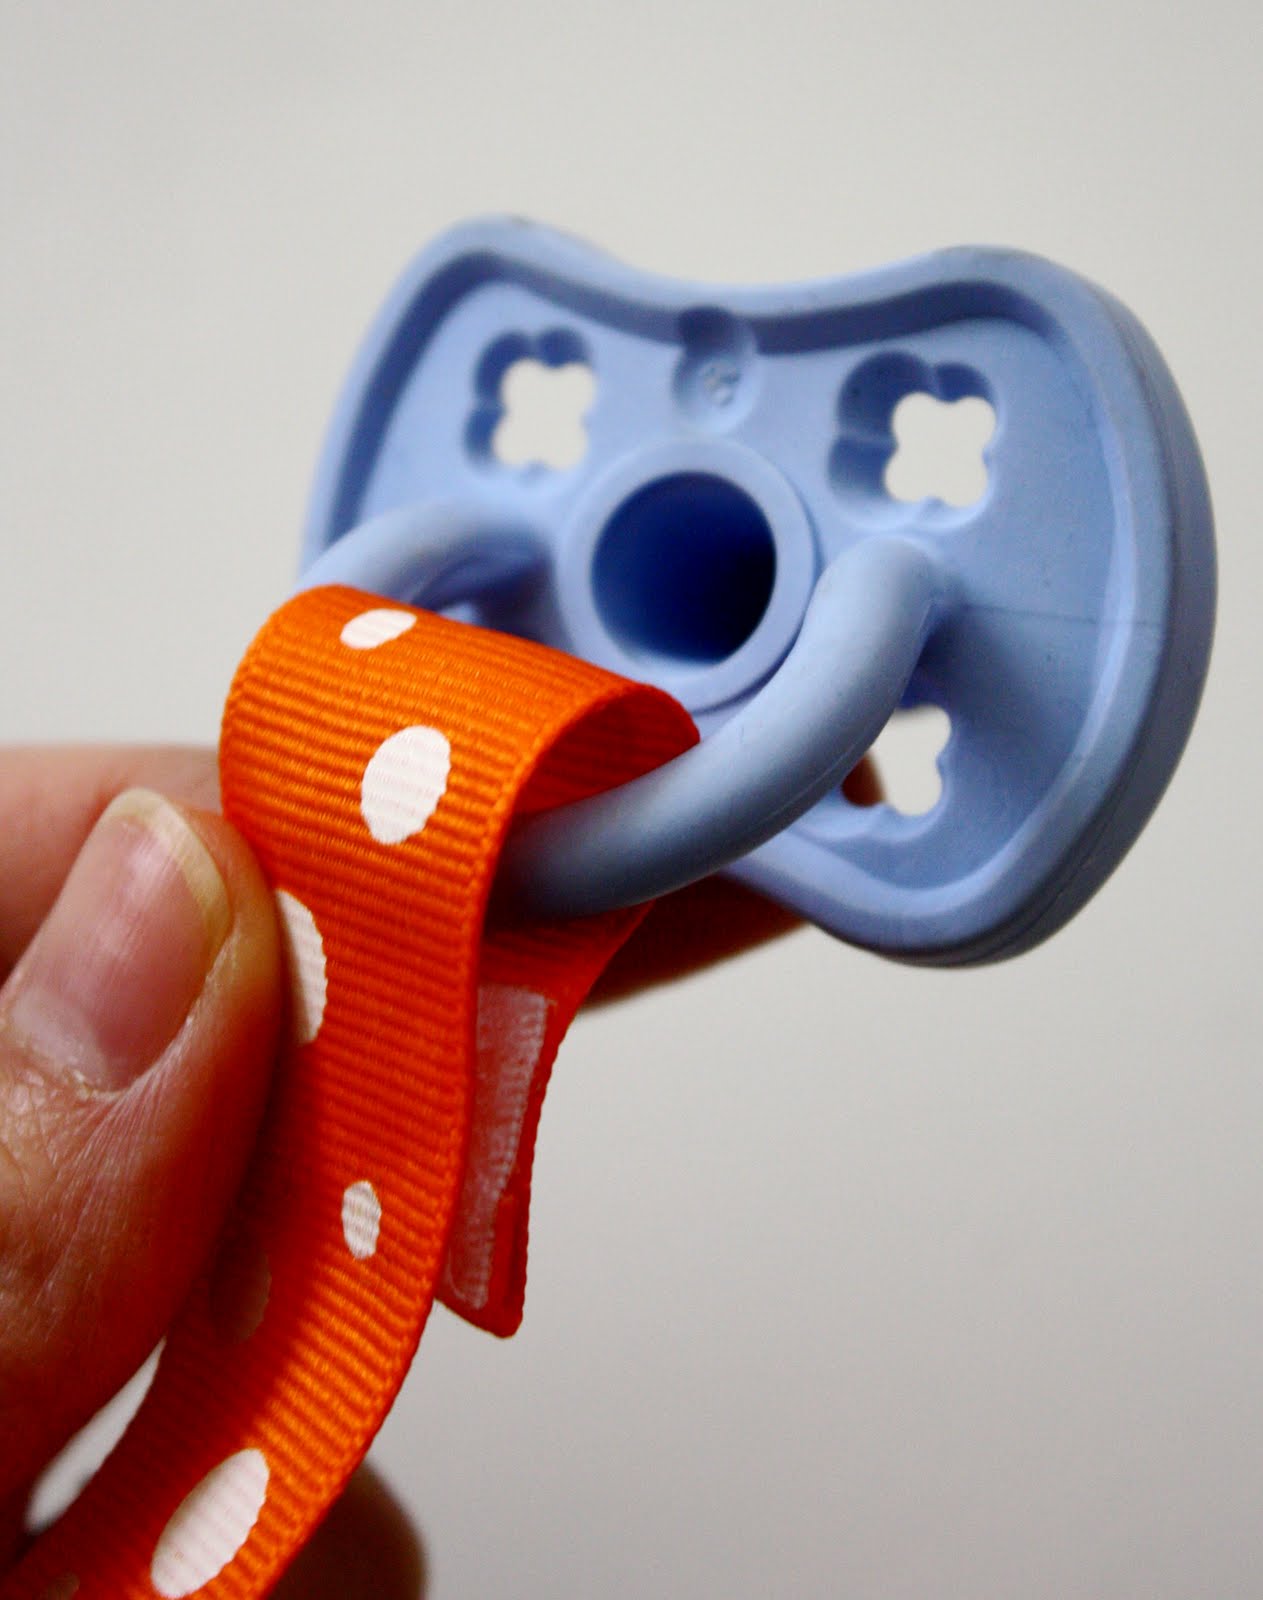
This is the side that will be attached to the pacifier.
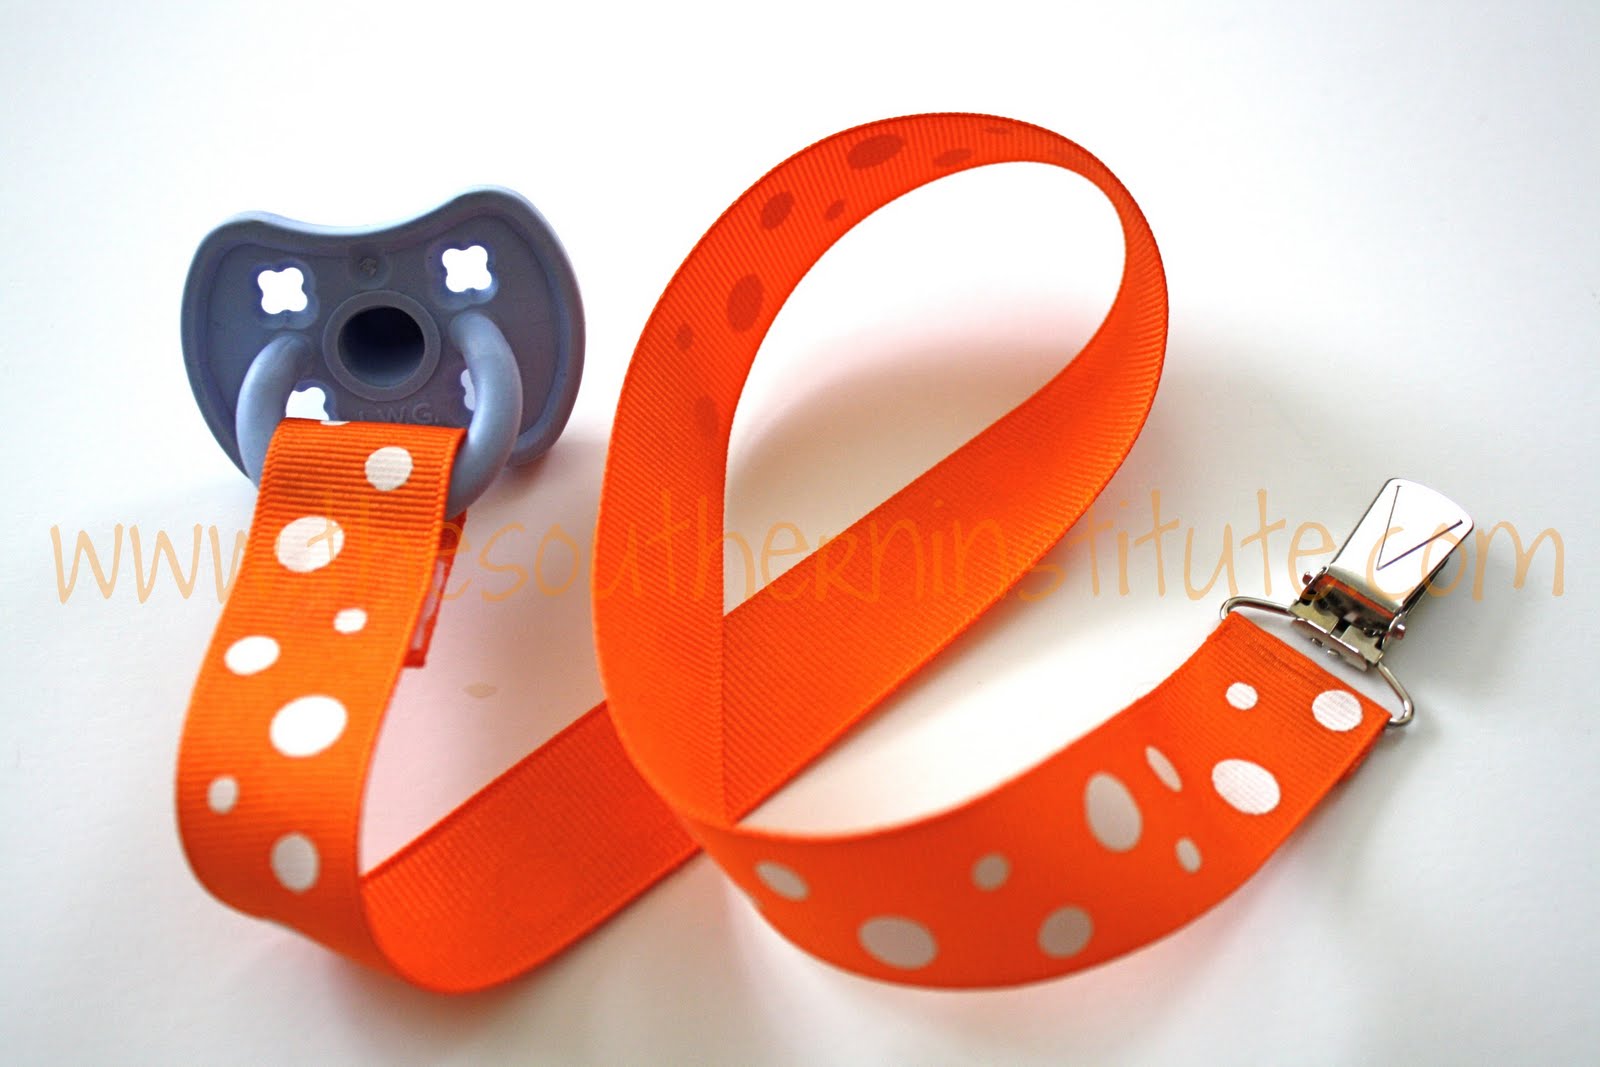
Step Four: On the other end of the ribbon, place hot glue along the edge and fold over 1/4 inch, just as you did the first side. Feed the ribbon up through the back side of the mitten clip. Place hot glue along the edge, fold over, and press firmly to secure the mitten clip to the ribbon.

You now have a completed No-Sew Pacifier Clip!
Your friends will be so impressed!
Disclaimer: Please, use common sense and DO NOT leave your baby unattended with a pacifier clip attached to them.


Connect With Me