Pretty Petite Pincushions!

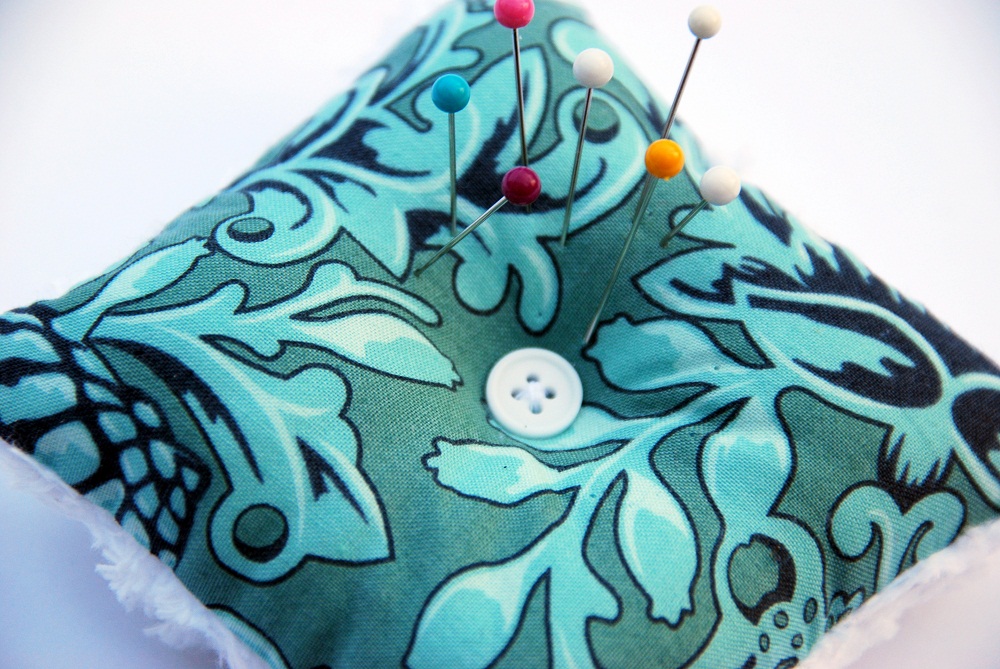
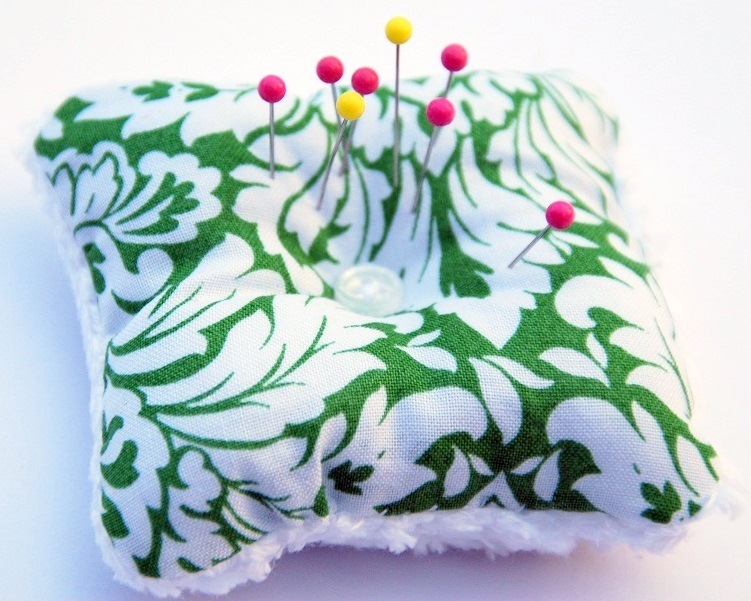
…because they are so much cuter than the regular old tomato pincushion.

Petite pincushions measure 3 inches square. They may be be small, but the designer fabric used packs a big punch! The other side of the pincusion is white chenille. Use either side–they’re reversible! A perfect gift for the sewing fanatic in your life…or for you, because you need a little cuteness while you create!

My pincushion was featured in this Etsy treasury. Yippee!
Want to purchase a pincushion? Visit my Etsy shop!

$10 DIY Mannequin Tutorial

When I set up a craft table at a Breast Cancer Walk/Fundraiser to benefit my friend Candice a couple of weeks ago, I needed a way to showcase the Ribbon Ruffle Applique Shirts  and some other things that I make, but didn’t want to spend a lot of money on the solution. As I was walking the aisles of Hobby Lobby, inspiration hit. Within 10 minutes and under $10, I had 2 “mannequins” to model my creations! I will also use these in the future for taking product pictures of clothing for my Etsy shop.
Want to make your own? Let’s get started!
You will need:
Large diameter dowel rod (I used the biggest one I could find)
Small diameter dowel rod (I “eyeballed” it–real technical, I know.)
Wooden Plaques
Since the dowel rods are long, I had my “lovely assistant and hand model” cut them in half on his saw. We measured around 2 inches down from the top on the large diameter dowel rod and marked.
According to my “assistant,” the best tool for the next step would be a drill press, but we don’t have one of those sitting around in our garage. We decided to drill holes starting with a small drill bit and gradually work our way up to a large drill bit. We did this so we wouldn’t split the dowel rod.

When the hole is large enough to fit the small dowel rod through, set this aside.
Find the middle point of the wooden plaque. Since our wooden plaque was a square, we drew diagonal lines on the bottom of the plaque to make an “X” and find the middle point. We’re very scientific and precise around here :)

Drill pilot holes in the bottom of the plaque & the large dowel rod. Use your drill to attach the plaque to the large dowel rod.  

Stand back and admire your “mannequin.” Glam it up to your liking. I am thinking about adding a finial to the top and a coat of paint to dress it up a little. (I’ll add an updated picture when I do.)

Now I can display my creations and add a little height to my craft table! Wasn’t that easy?

oneprettything

Appliqued Name Pillows

Look what I’ve been working on…

Rudolph Ribbon Shirt

I made several Christmas shirts during my avalanche of Christmas orders. This one has to be my favorite! A customer of mine wanted a Rudolph shirt similar to one I made for Jonah at the Craft Fair, but she wanted it gussied up a bit for her grandaughter. I added a little hairbow to the reindeer and a double ribbon ruffle. Instantly girl-ified! Look at how adorable it turned out!

DIY Ornament Wreath

I’ve been seeing these all over blogland and I finally jumped on the bandwagon. It was so easy and I love the way it looks! Ok, well, I’m not so sure I’m lovin’ my big fru-fru bow, but I’ll do some more adjusting and tame it down. All you need are some ornaments and a hanger. Seriously easy. You can find the instructions from Eddie Ross. I’m totally getting some more ornaments at the after-Christmas sales to make some more for next year!

Handprint Snowmen Ornament

Need a quick and personalized gift for a loved one? Make a handprint ornament!
Handprint Snowmen Ornament
We made several of these for special people in our lives as a present from Jonah. I found some large flat ornaments at Hobby Lobby. We painted Jonah’s handprint with white paint for the snowmen bodies. Then I added some hats, scarves, and faces to the snowmen. On the back I wrote the year, Jonah’s name and age. I sprayed the ornaments with a clear craft sealant to protect the paint from scratching off. Tie a ribbon to embellish and it’s ready for giving! I know the recipients will love it! We made an extra for our own tree…I’m a sucker for handprints. I also love to look at ornaments and reminisce. This will be a keepsake for years to come!

Tutorial: Marshmallow Pops

Gather your ingredients:
Marshmallows
Candy Melts/Dipping Chocolate
Lollipop Sticks (found in the cake decorating & candy making section in your local craft store or Walmart)
Your favorite sprinkles or sugar sprinkles
Don’t forget to grab your little “helper”…
  1. Melt the candy melts/chocolate in the microwave for 30 seconds at a time. Stir and reheat for 30 more seconds. Repeat until melted.


  2. Place a marshmallow on a lollipop stick.


  3. Dip the end of the marsmallow in the candy melts/chocolate. (I only dipped the very tip, but you could cover as much as you want.)


  4. Now dip the end of the marhmallow in the sprinkles.


  5. Place the marshmallow in a glass until the candy melts/chocolate harden (this only took a few minutes for the candy melts that I used)


  6. Rinse, lather, repeat….until you make the desired amount of marsmallow pops.


Allow your little helper to do a taste-test…
While your little helper is making a mess performing a taste-test, package them up in treat bags and  tie with a cute piece of ribbon or rick-rack. Give them to friends, new neighbors, as party favors, etc.
Note: if you want to make a cute display for your Marshmallow Pops, place a piece of styrofoam in a cute container or vase. To cover up the styrofoam, I used some of the shredded paper for gift baskets that I had laying around in my craft stash. (If making these for Easter, you could use Easter Grass! Wouldn’t that be cute!?!)
Let your friends “Oooh” & “Aaaah” over them, say thanks for the compliments, and smile to yourself because you knew it was super easy and super fast to make. Enjoy!
Make someone’s day with a Marshmallow Pop!