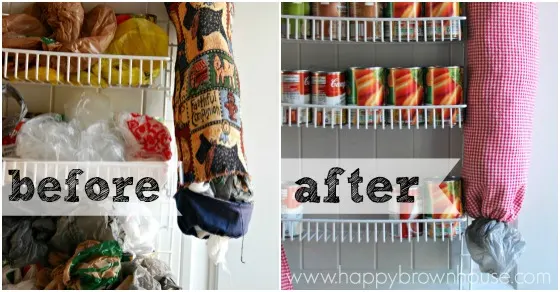
In my quest for pantry organization, I have a love/hate relationship with plastic grocery bags. On one hand, we reuse them for easy disposal of stinky diapers, mini trash can liners, and more. On the other hand, they seem to multiply faster than rabbits. Even with the use of reusable canvas shopping bags, we STILL end up with a lot of plastic grocery bags that need to be recycled or reused. That’s where my kids come in—one of their chores is to put the plastic grocery bags into the grocery bag holder. It works well for us and even the 3-year-old can do it. The problem is, our plastic bag holder has seen better days. I’ve had it for at least 15 years and it is falling apart. It was literally holding on by a thread and wasn’t really doing its job anymore. The plastic bags were overflowing and falling out, which led to even more clutter. It was time for a new Plastic Grocery Bag Organizer to contain the plastic shopping bag clutter.
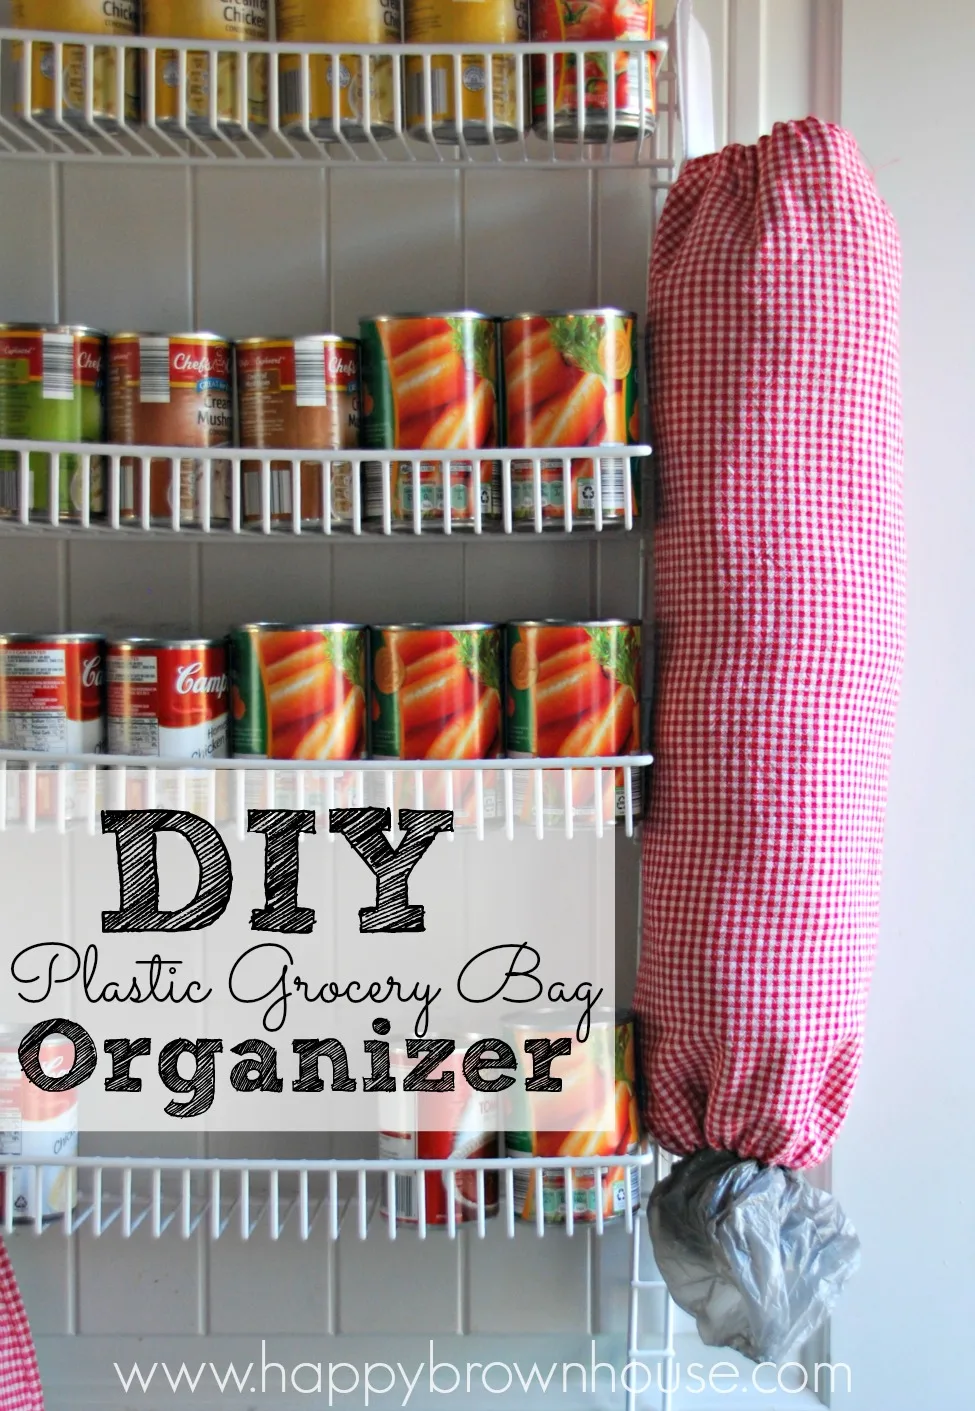
Making a Plastic Grocery Bag Organizer is an easy sewing project. If you can sew a straight line, you can tackle this—it’s a perfect beginner sewing project. By using a tea towel instead of fabric, I eliminated the need to finish seams and save some time. Or, if you want to use some fabric, it is a great fabric stash busting project. This sewing project took me less than 15 minutes from start to finish and made a big impact in my pantry organization efforts. Ready to get started on your own? Let’s sew!
DIY Plastic Grocery Bag Organizer Sewing Tutorial
Sewing Level: Beginner
Time: 15 minutes
Cost to Make: Less than $5 (I already had everything in my sewing supplies, so this was FREE for me!)
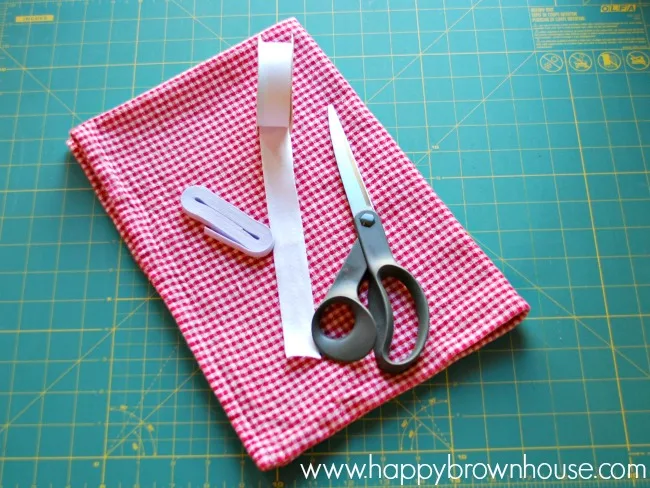
Materials:
Tea Towel (mine is from the Dollar Tree!)
Sewing Machine
Thread
Skinny Elastic (mine was ¼ inch)
Safety Pin
Twill Tape (you can buy this in a package or at the fabric cutting table. You'll only need about 8 ½ inches, so you could ask them to cut some to be extra frugal)
How to Sew a Plastic Grocery Bag Organizer
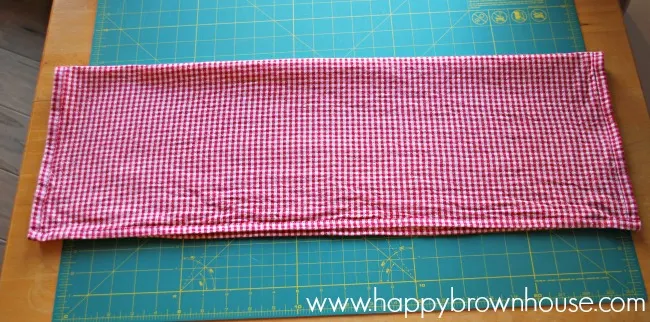
- Fold the tea towel in half, bringing the two long sides together to make a long, skinny rectangle. (Or as I tell my kids, a hot dog fold.)
- Pin along the long side (or if you are a sewing rebel like me you could totally skip this step)
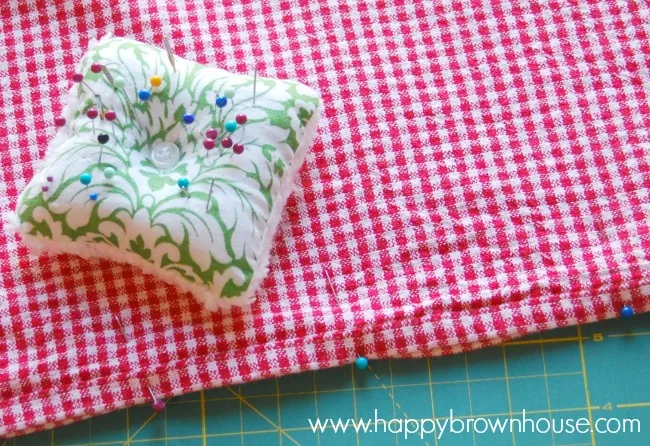
- Sew a straight line on the long side. (FYI: the top corner was really thick, so I moved over a little and used the seam from the towel as my sewing foot guide.)
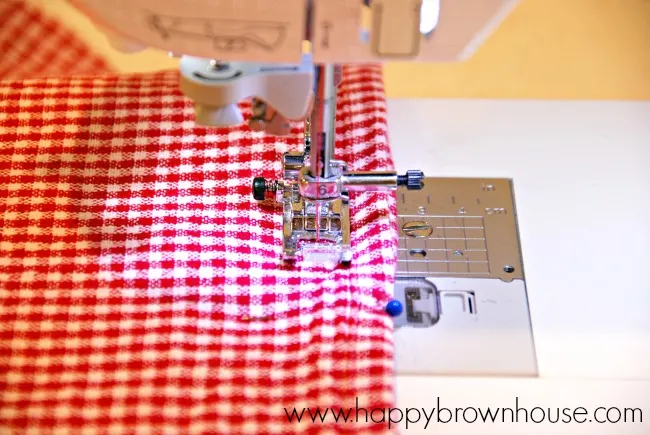
- Trim if you need to to remove bulk along the seam. Make sure not to cut over your sewing line.
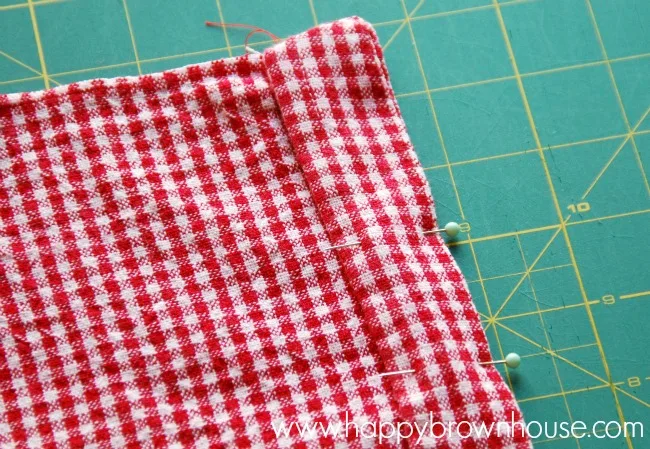
- Fold the top and bottom of the tube down. Iron and pin in place. I eyeballed this part using my elastic as my guide. 1 inch was plenty for me.
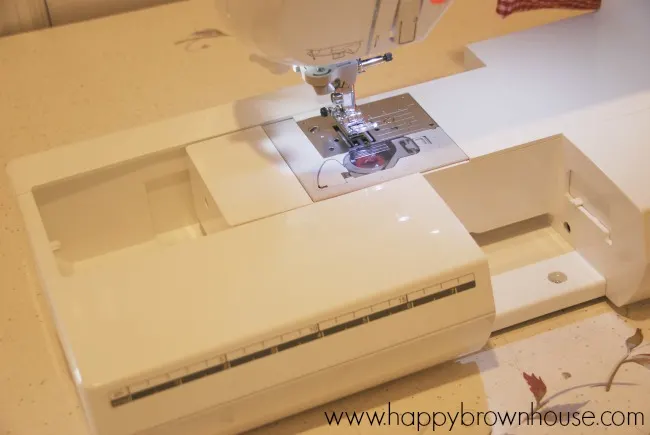
- Stretch your tube on the sewing machine ( I removed part of my machine so I would have more control.) If yours won't fit around your sewing machine arm, push the bulk out of the way.
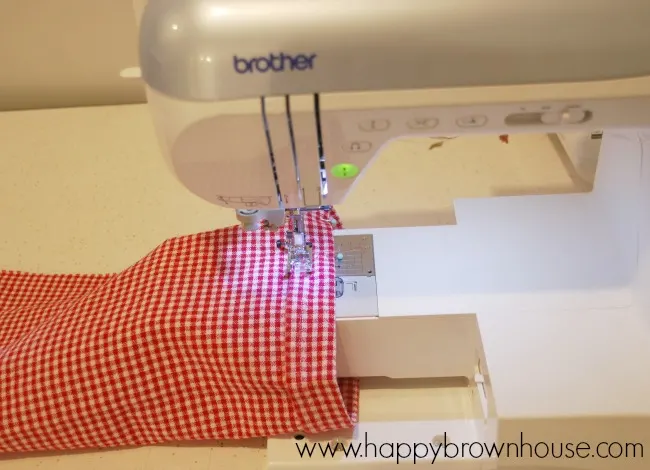
- Sew around the tube, leaving a 1-2 inch gap from your starting point and ending point.
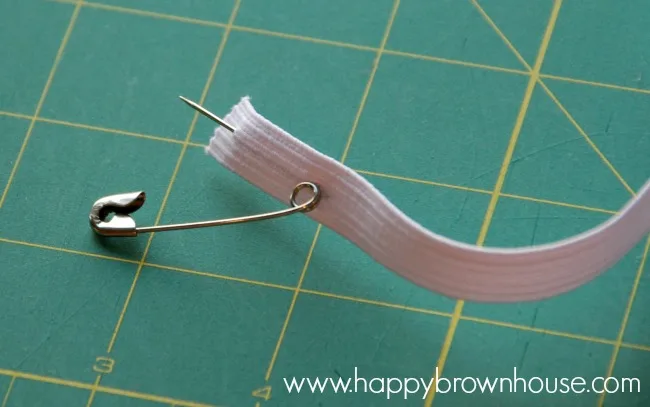
- Lay your tube flat. Cut two pieces of elastic about the length of the short side of your tube. (I totally eyeballed this.) Using a safety pin on the end of the elastic, thread the elastic through the hole, working it through the mini tube. If this is your first time making an elastic seam like this, make sure to hold onto the other end of your elastic, or pin the loose end close to the opening. This will ensure you won't pull the elastic all the way through. If you mess up and the elastic pulls through, just do it again.
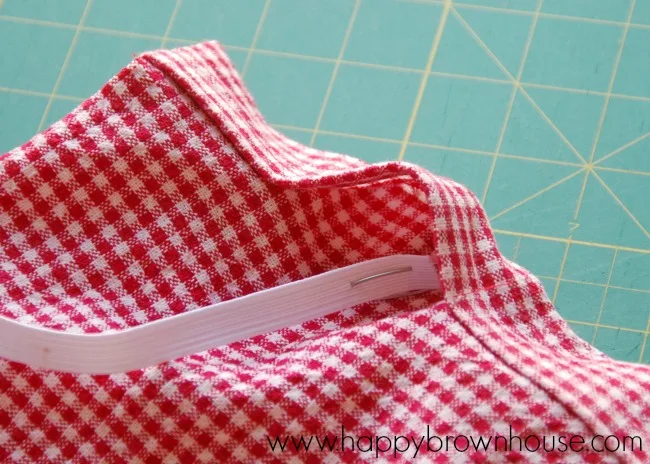
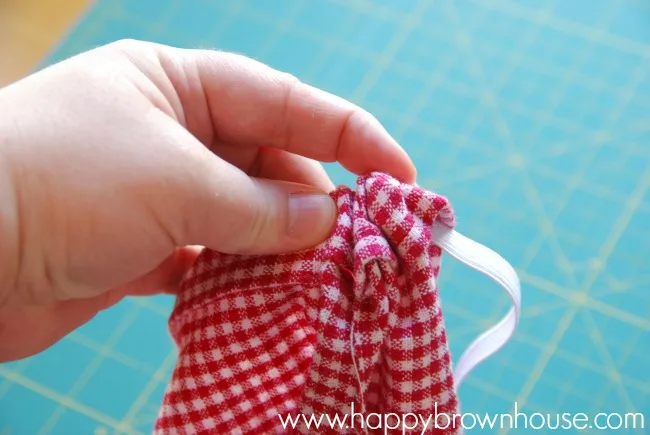
- Pull elastic through and overlap the ends to make the elastic like a continuous circle. Sew.
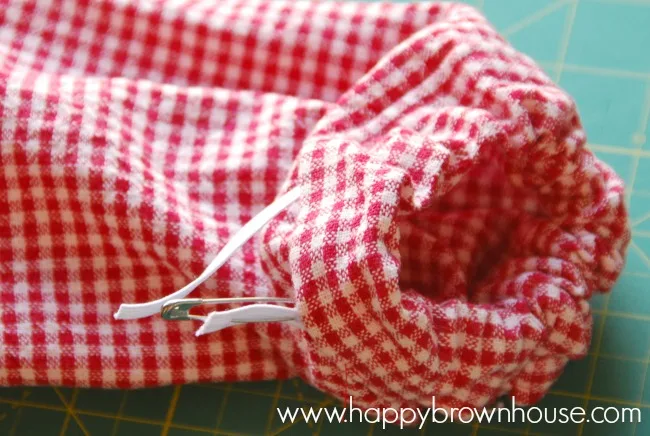
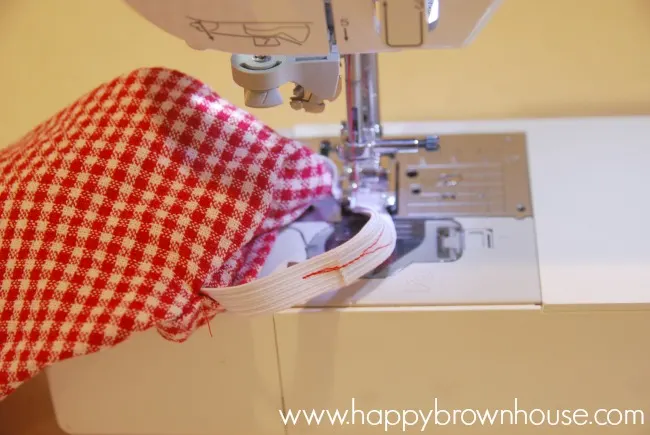
- Place the tube on the sewing machine again. Sew the 1-2 inch gap closed on the top and bottom seam.
- Turn the tube inside out.
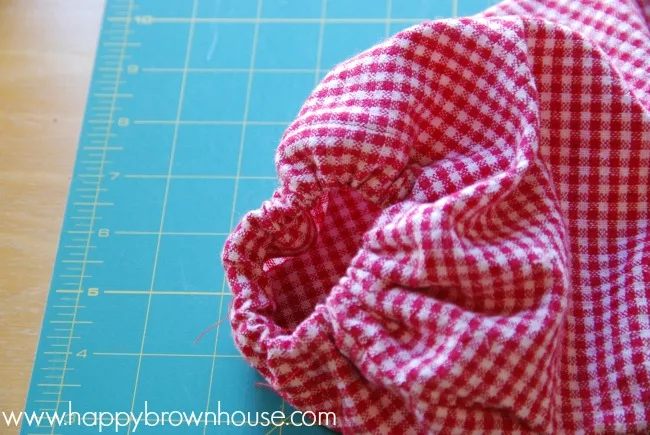
- Trim any loose strings you might have hanging.
- Measure the twill tape. I measured about 8 ½ inches. Once again, you can eyeball this. Trust me.
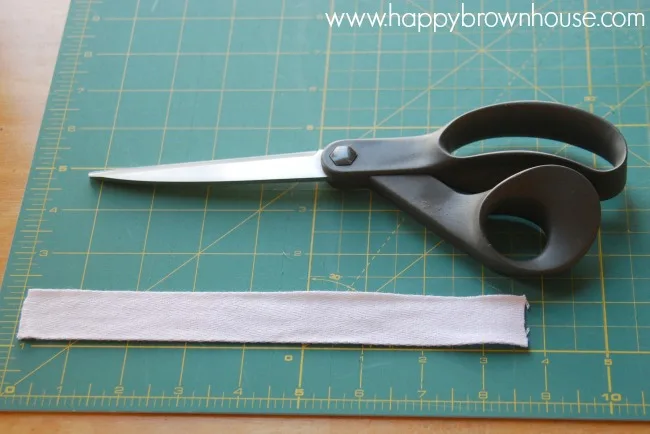
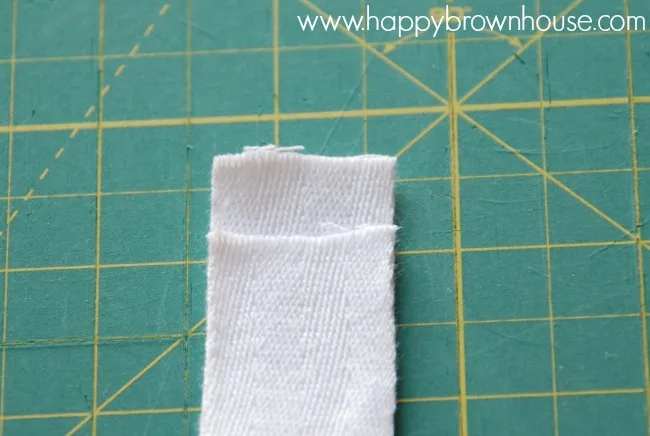
- To make a loop, I folded the twill tape in half, then moved one end down a ½ inch. After that, I folded the longer edge over to make sure my edges were clean and didn't fray. If you didn't want to do this, you could put some Fray Check on the raw edges.
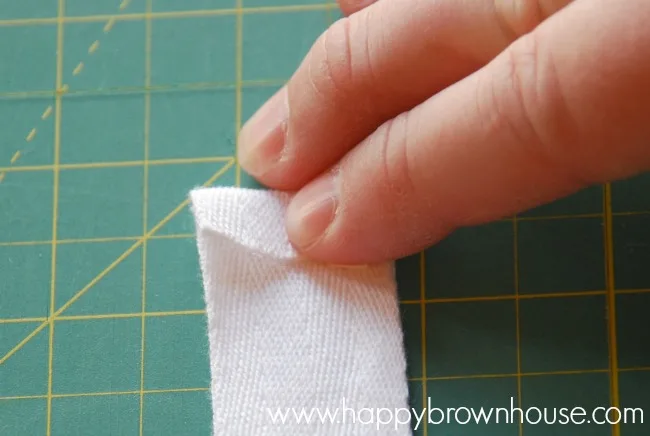
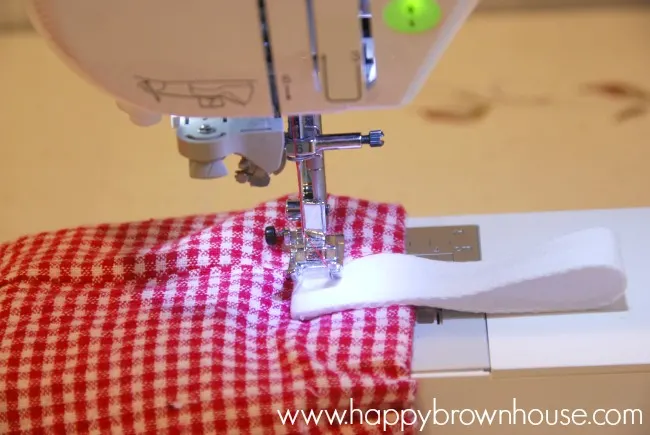
- Stretch one of the elastic ends over the sewing machine again and sew the twill tape loop onto the plastic grocery bag organizer. Since my kids will be tugging on it frequently, I reinforced my stitching on the loop a few times.
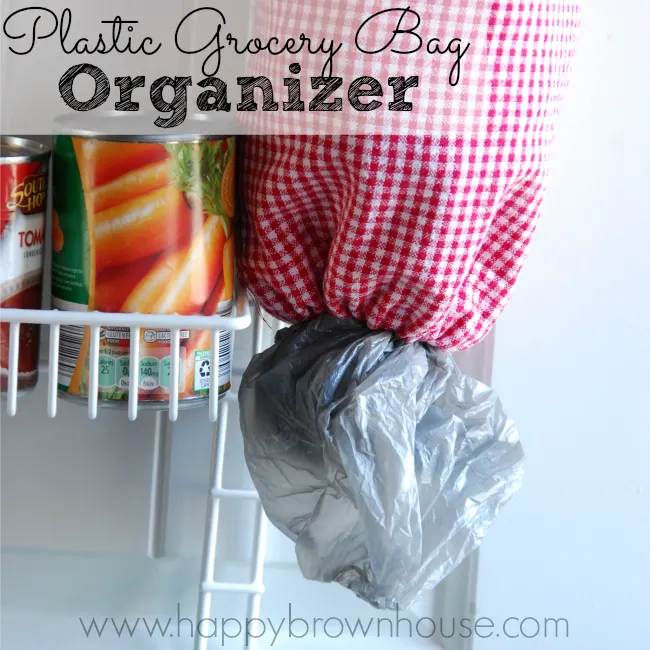
And that’s it! Hang it up in your pantry or laundry room to organize all those pesky plastic grocery bags that are cluttering up your space.

January Sewing Buddy Challenge: Kitchen Table Swap – League of Dressmakers
Thursday 21st of January 2021
[…] And if you always forget your re-useable grocery bags, and use the plastic ones from the store, they make great tidy bags for cleaning up after the dog–or even as “gloves” for cleaning up messes in the kitchen. How about sewing a storage organizer that’s modern and chic? Try this one from Happy Brown House: […]