Using a Door Draft Stopper or a Draft Snake is a great way to help lower your heating bill and make sure your home is energy efficient. It just so happens that a door draft stopper is also a very easy DIY sewing project. With some scrap fabric and fifteen minutes, you can stop extra drafts in your house, too.
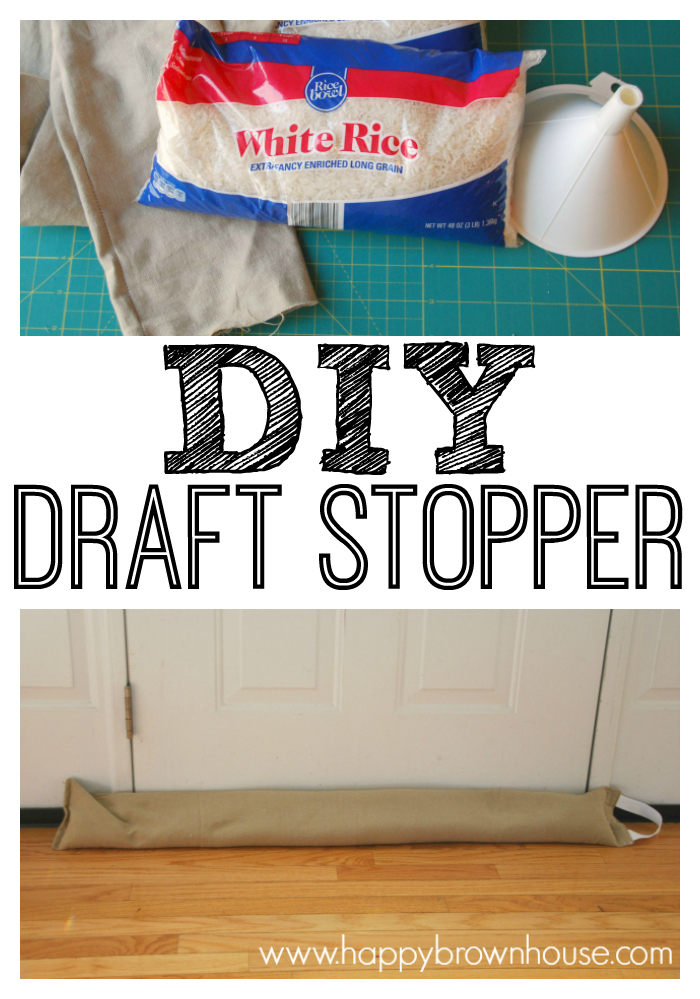
As I quietly creep through the house to the coffee maker, I catch a chill as soon as my feet hit the hardwood floor in our entryway. It sends a shiver through me and I make a quick detour to look at the thermostat. It’s holding strong and steady where it was set, but it's winter and the cold air still finds its way in through the tiniest cracks. A draft stopper, or a draft snake as we called it growing up, is a quick and easy fix for stopping cold air from coming in through door cracks.
DIY Door Draft Stopper/Draft Snake Tutorial
Sewing Level: Beginner
Time: 15 minutes
Cost: $0-$10
Materials Needed for a Door Draft Stopper:
Fabric (mine was from my extra fabric stash)
Thread
Sewing machine
Measuring Tape
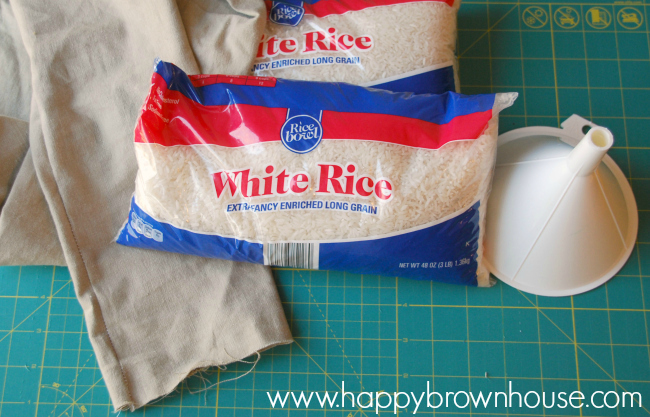
Rice
Twill Tape (optional)
How to Make a DIY Door Draft Stopper/Draft Snake
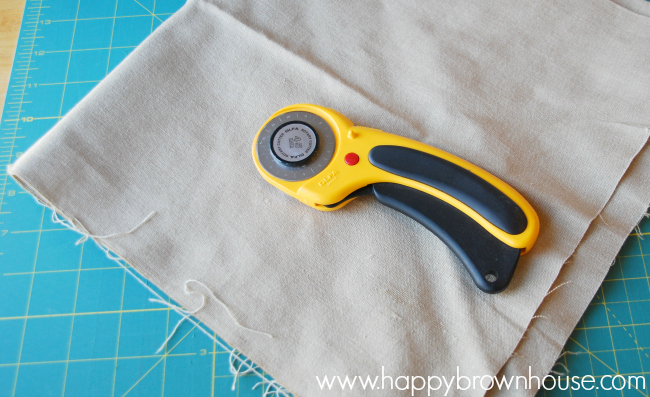
- Measure your door and add a few inches. This doesn't need to be super exact. Cut fabric to your measurement. I found a piece of fabric in my stash that was perfect, so I didn’t even cut the length.

- Fold in half lengthwise (hotdog fold). Pin the long edge and one short end closed.

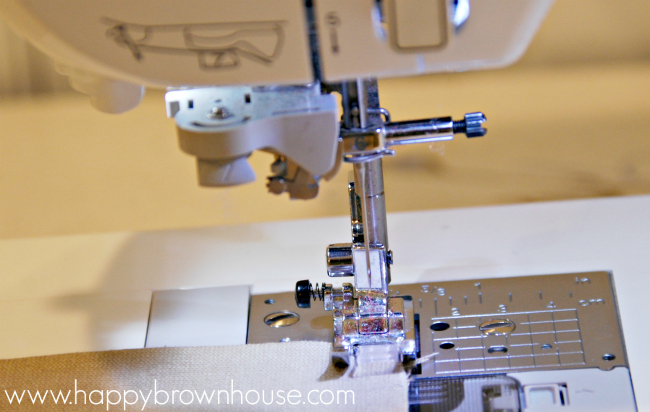
- Sew one short end. Lift your presser foot, turn, and sew all the way down the long side. Clip corners, being careful not to cut the seam.
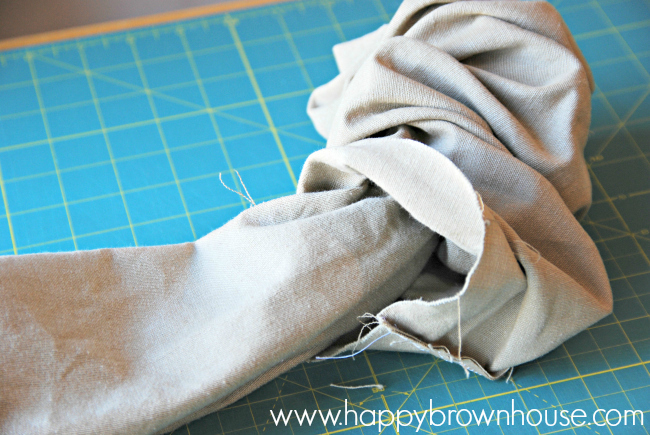
- Turn the tube inside out. Use a pencil to gently help you poke the corners out if you need to.

- Fill ¾ of the way with rice. My husband helped me with this part.

- Fold the rough edges on the open end of the tube inside about an inch.
- Optional: If you want to add a handle loop for easy storage when not in use, cut a piece of twill tape. Insert it in the opening to form a loop. Pin in place.

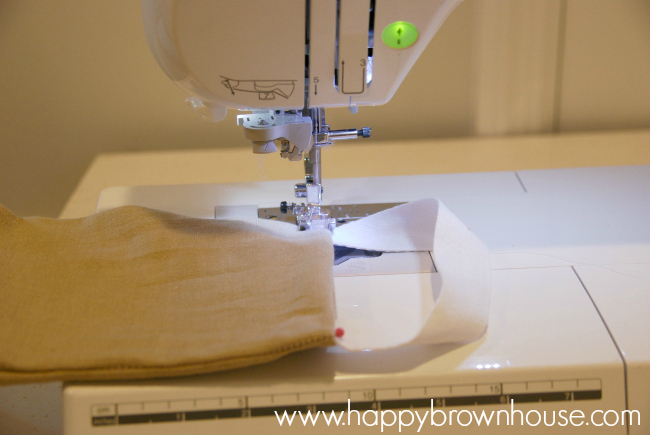
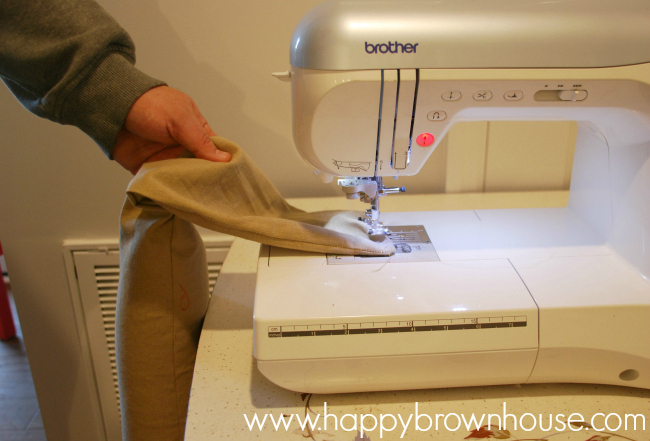
- Sew shut. Reinforce the opening with more than one stitch. (I moved my sewing machine all the over to the edge of the table and asked my husband to hold the rice filled tube while I sewed the opening shut.)

Note: I store mine hanging on a hook in my laundry room when not in use.
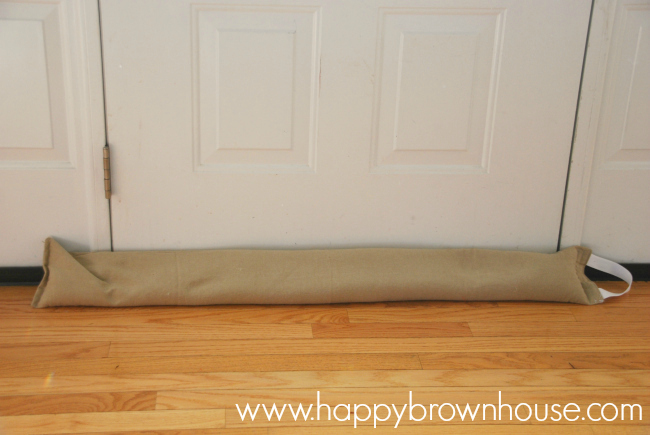
I've made draft stoppers for all of our exterior doors in our house, especially the door between the garage and our new basement homeschool room. They keep the cold air out and the warm air in. I'd say that's a pretty fantastic frugal winter sewing project that will help keep you warm.

The 20 Best Ideas for Door Draft Stopper Diy - Best Collections Ever | Home Decor | DIY Crafts | Coloring | Birthday | Ideas
Monday 29th of July 2019
[…] (adsbygoogle = window.adsbygoogle || []).push({}); Best Door Draft Stopper DIY from DIY Door Draft Stopper Easy Sewing Project. Source Image: happybrownhouse.com. Visit this site for details: happybrownhouse.com […]
30 DIY Door Draft Stoppers - How to Make a Door Snake
Monday 10th of June 2019
[…] Making a Side Door Draft Stopper […]
DIY Bean Bags
Wednesday 29th of April 2015
[…] DIY Door Draft Stopper {Easy Sewing Project} DIY Plastic Grocery Bag Organizer {Beginner Sewing Project} Ribbon Tag Blanket How to Applique Without an Embroidery Machine […]
DIY Bean Bag Tutorial | Happy Brown House
Thursday 16th of April 2015
[…] DIY Door Draft Stopper {Easy Sewing Project} DIY Plastic Grocery Bag Organizer {Beginner Sewing Project} Ribbon Tag Blanket How to Applique Without an Embroidery Machine […]