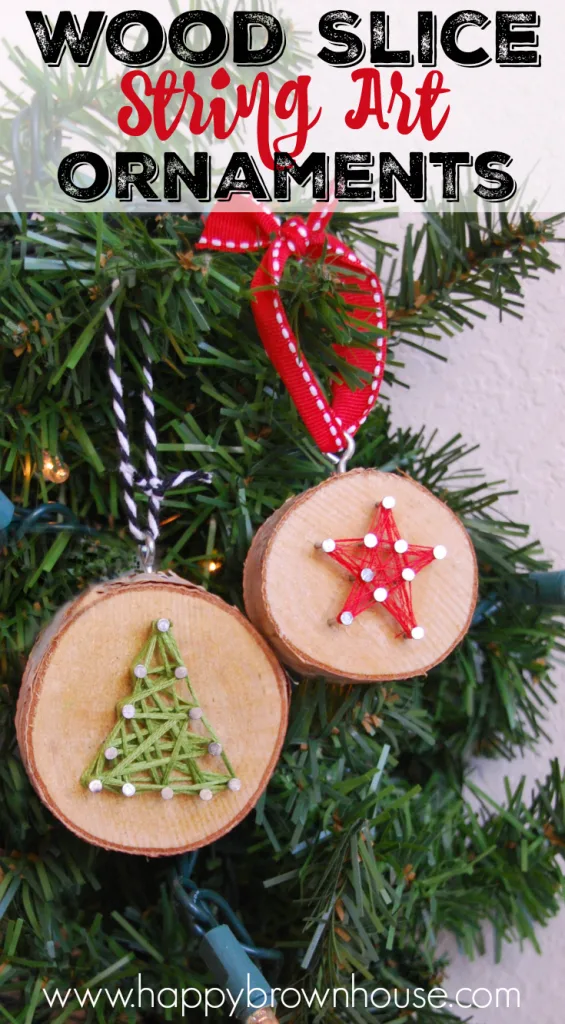
This simple DIY Wood Slice String Art Ornament is inspired by a children's book, but we got in some great fine motor skills practice while making it! If you've been around Happy Brown House for a while you know how happy that makes this homeschool momma. Lastly, since the book was a historical fiction book, we learned some history. Who knew a kid's Christmas ornament idea could do so much at one time?
Affiliate links are present.
The Carpenter's Gift
Inspiration for this DIY Wood Slice String Art Ornament came from the book, The Carpenter's Gift: A Tale about the Rockefeller Center Tree. Opening in Depression-era New York City, The Carpenter's Gift tells the story of eight-year-old Henry and his father selling Christmas trees. They give a Christmas tree to construction workers building Rockefeller Center and celebrate together. Through the kindness of the construction workers and neighbors, Henry gets his wish for a nice, warm home to replace his family's drafty shack. He plants a pinecone from that first Rockefeller Center Tree. As an old man, Henry repays the gift by donating the enormous tree that has grown from that pinecone. After bringing joy to thousands as the Rockefeller Center tree, its wood will be used to build a home for another family in need.
The Carpenter's Gift: A Christmas Tale about the Rockefeller Center Tree
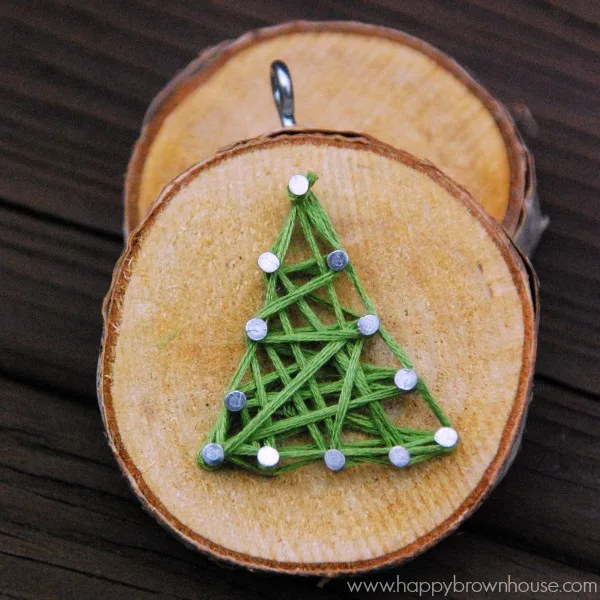
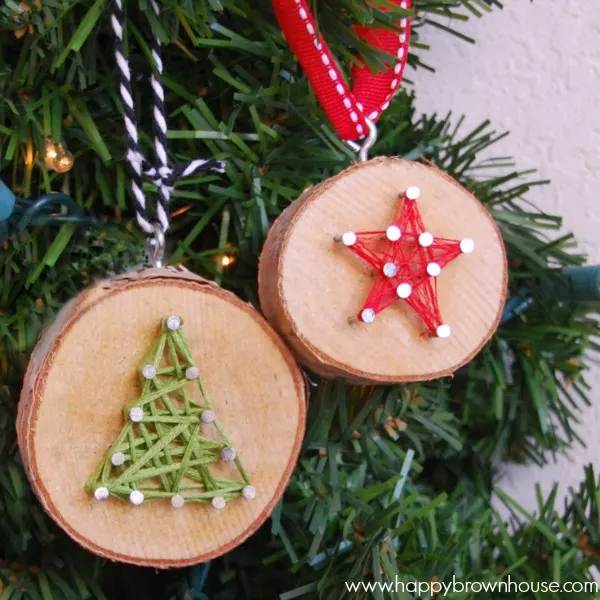
In the book, one of the construction workers give Henry a hammer. As an old man, Henry passes the hammer on to the little girl that will receive a home built with the wood from his enormous tree. In honor of Henry's hammer, we decided to use a hammer to make an ornament. A wood slice ornament was an obvious choice, since the wood from a tree was a story theme, too. We paired that with the popular string art technique and had beautiful results! We made two Wood Slice String Art Ornaments (one for each of the boys)--a tree shape to remind us of the gift of a tree and a star shape to remind of us the star ornament that Henry made for the Rockefeller Center tree.
DIY Wood Slice String Art Ornament
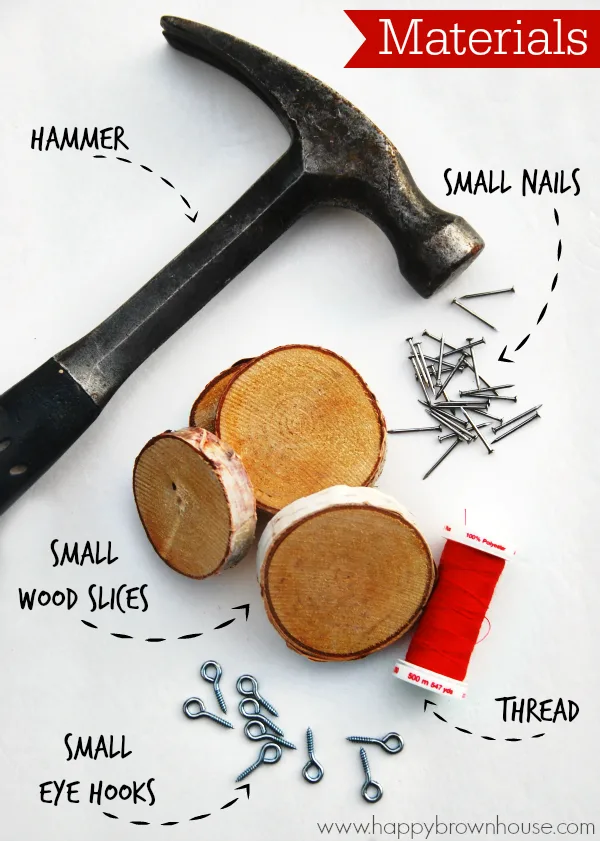
Materials:
- Small Wood Slices (cut your own or buy at the craft store)
- Hammer
- Small nails (mine were ¾ inch long)
- Thread
- Small Eye Hooks
- Ribbon, String, or Baker's Twine
Directions:
Gather your materials.
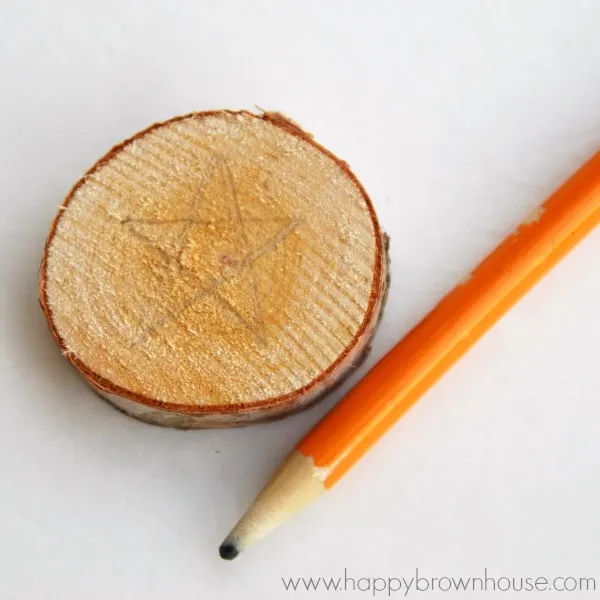
Lightly sketch the outline of the shape you want to make with your string art on your wood slice. We made a basic five-point star and a triangle tree. Lightly mark dots where you want your nails to be. For the star, we chose to mark every angle/point. For the tree, we just spaced the points evenly around a triangle.
Note: If you are doing this with younger kids, stick to the triangle tree--the star was a little tricky!
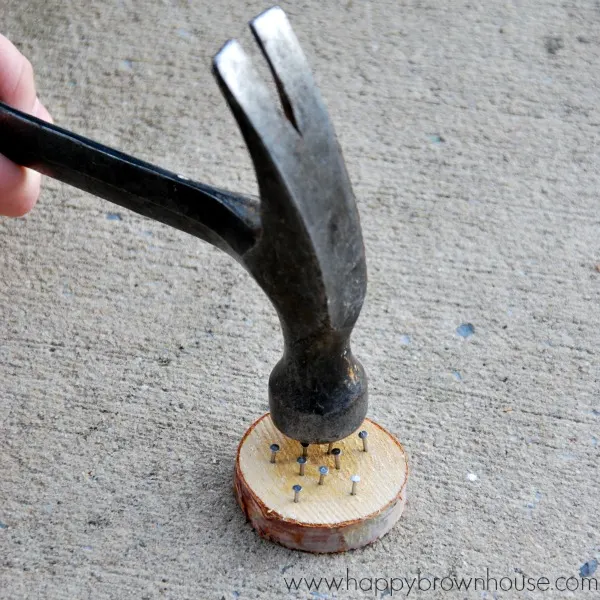
Using the hammer, tap small nails into the wood slice at each marked point. You won't go all the way through, but if you do, just turn it over and pound it back a little from the bottom. Kids love to do this! My oldest (8 years old) was able to complete this ornament by himself with minimal help. My youngest (4 years old) needed some help getting the nails started, but was able to pound away much like he does during our Pound the Sound letter sound activity for preschoolers. Thanks to our preschool hammer practice, he's a pro! (If the nails get bent, an adult can easily tap them back into place.)
Knot a piece of thread around one of the nails. (An adult may need to help with this part.)
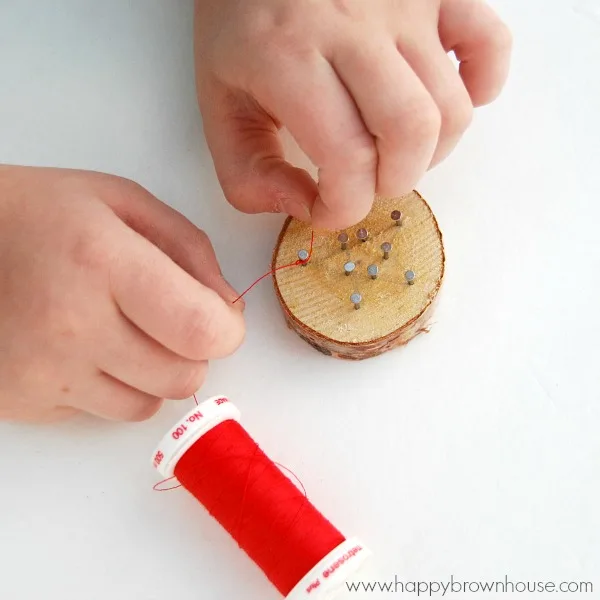
Let your child wind the thread around the nails--the crazier the pattern, the better! (This part is great for developing fine motor skills!)
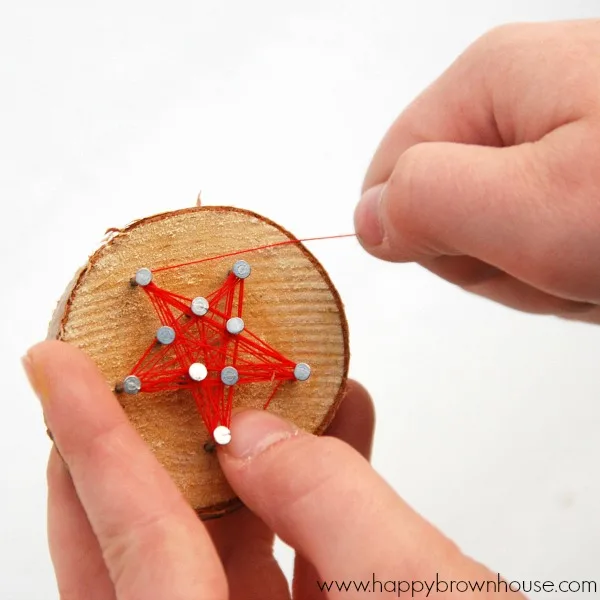
When finished, tie another knot around a nail. Leaving a little extra thread, trim the thread and tuck the excess under the string art. It will blend in nicely. If you are worried about the knot coming undone, dab a little school glue on it to hold it in place. Screw a small eye hook into the top of the wood slice string art ornament. You can tap it lightly with the hammer to get the hole started, but then you can screw it by hand. Use a pair of needle nose pliers to help at the end when it gets too tight to screw in.
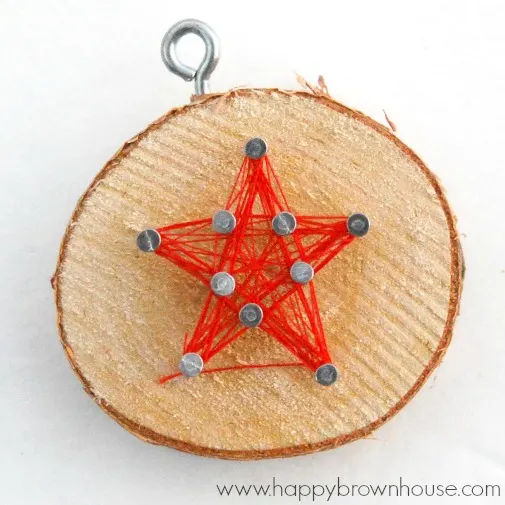
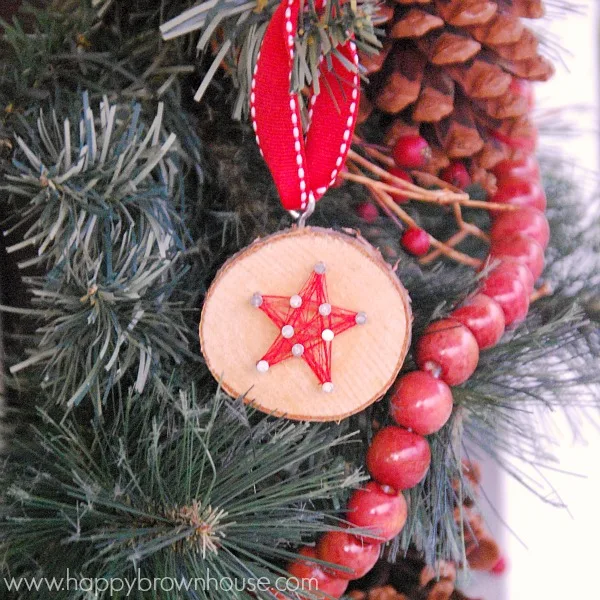
Attach a ribbon or string to the Wood Slice String Art Ornament and hang on the tree. Or, you can attach this to a present for an extra nice touch for a creative gift wrap or gift topper idea.
More Christmas Posts You Might Like:
Nativity Books for Kids
125 Stocking Stuffers for Kids $10 or less
Washi Tape Mason Jar Lid Ornament
Mason Jar Lid Snowman Ornament
10 DAYS OF A KID-MADE CHRISTMAS
Are you still searching for the perfect kid-made Christmas craft or activity for your kids, grandkids, scout group, or classroom? Visit the 10 Days of a Kid-Made Christmas series hosted by Mama Miss! All of the ornaments in the series are inspired by children’s books and there will be 70+ ornaments by the end of the ten days. We had such a fun time last year with our Rainbow Fish Inspired Perler Bead Ornament and this year's Washi Tape Mason Jar Lid Ornament that we decided to join in the fun again! I've been blown away by some of the amazing ornaments.
You can also follow along by searching the hashtag #KidMadeChristmas on Twitter and Instagram!

DAY 6 CONTRIBUTORS
Shared below are links to the Day 6 crafts and activities. Which one will you make?!
Jingle Bell Christmas Tree Ornament | Mosswood Connections
Swim Swim Christmas Ornament | Sunshine Whispers
Christmas Stocking Ornament | KCEdventures
Baby Jesus Ornament | Modern Preschool
Snowflake Ornaments | Preschool Prowol Packs


build a cross
Wednesday 27th of January 2021
Very beautiful wood art ornament!
Frosty the Snowman Wooden Slice Ornament ⋆ Sugar, Spice and Glitter
Tuesday 15th of December 2020
[…] Wood Slice String Art Ornament from Happy Brown House […]
Wooden Slice Penguin Ornament ⋆ Sugar, Spice and Glitter
Monday 14th of December 2020
[…] Wood Slice String Art Ornament from Happy Brown House […]
Wooden Slice Rudolph Ornament ⋆ Sugar, Spice and Glitter
Monday 14th of December 2020
[…] Wood Slice String Art Ornament from Happy Brown House […]
Wooden Slice Snowman Ornament ⋆ Sugar, Spice and Glitter
Monday 14th of December 2020
[…] Wood Slice String Art Ornament from Happy Brown House […]